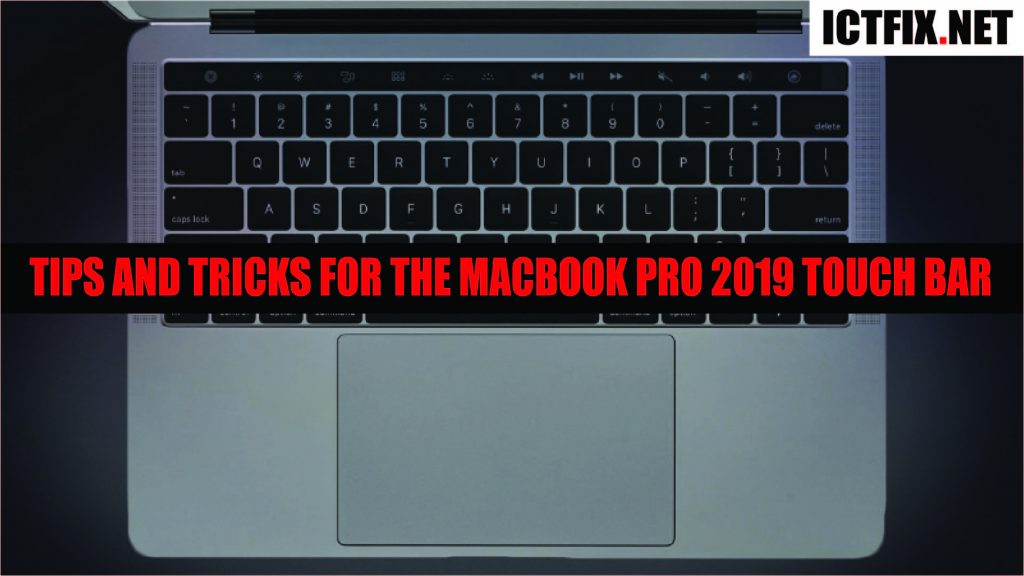
MacBook Pro 2019 được trang bị Touch Bar thay thế các phím chức năng từ lâu đã chiếm phần trên cùng của bàn phím để linh hoạt và tối ưu hóa hơn. Hôm nay tôi sẽ trình bày các mẹo và thủ thuật cho thanh cảm ứng macbook pro 2019
Video hiển thị tất cả các mẹo và thủ thuật cho thanh cảm ứng macbook pro 2019
1 . Basic Funtion
2 . Customize the Touch Bar to your preferences
Step 1: System Preferences —> Keyboards —> Customize Touch Bar
Step 2: Hold to move the icons
This is a very useful and convenient feature when using Macbook pro 2019 Touch bar
3 . Add zoom feature on touch bar
Step 1 : System Preferences —> Accessibility
Step 2 : Check enable Touch Bar Zoom
This feature enlarges the touch bar and displays it on an easy-to-operate macbook screen
4 . Display the macos dock on the touch bar
Pock App displays the macOS Dock (where all of your opened apps live) on the Touch Bar.
Link Download Pock App here
After downloaded, Open this app and the macOS Dock will display. Close this app to come back.
5 . Screen shot the toch bar
You can take a screenshot of your display with an easy keyboard command. Just hold down Shift + Command + 6. Like with other system screenshots, the image will appear on your Desktop (or whatever folder you’ve set screenshots to save to)
See more video at My channel here
More Macbook Tips
Create A MacOS Catalina USB Bootable Install Drive

